New look of the task screen and improved protocol steps
![]() 6 min read
6 min read
SciNote’s task screen is getting a new look, with many improvements in the protocol section. We’re excited to show you how we’ve restructured the protocol steps to offer you more flexibility when designing your protocols. It may look different from what you’re familiar with, but don’t worry – it is very easy to use.
Let’s go through some of the important updates one by one.
Contents
A new look for your tasks
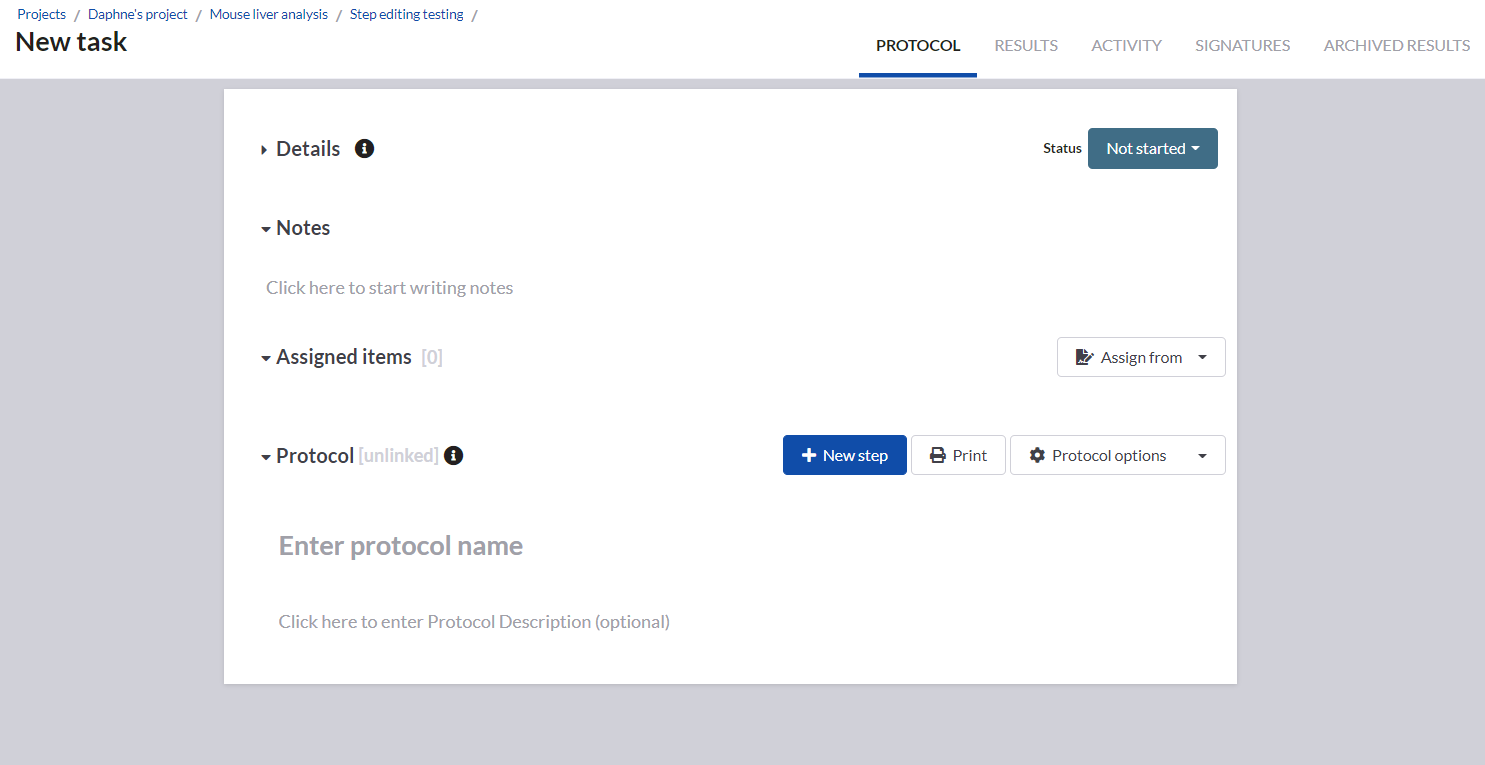
You’ll notice that the task details section is now collapsed, leaving more space for other important parts of your everyday work in the lab. You can click on “Details” to expand the section.
The task screen now has a fixed width. This will help you to have a more consistent appearance of the task on different screen sizes.
The protocol section in the task has a new field where you can enter the protocol name. If you’re loading a protocol template from the repository, this field will be filled in automatically with the name of the template.
Adding steps to a new protocol
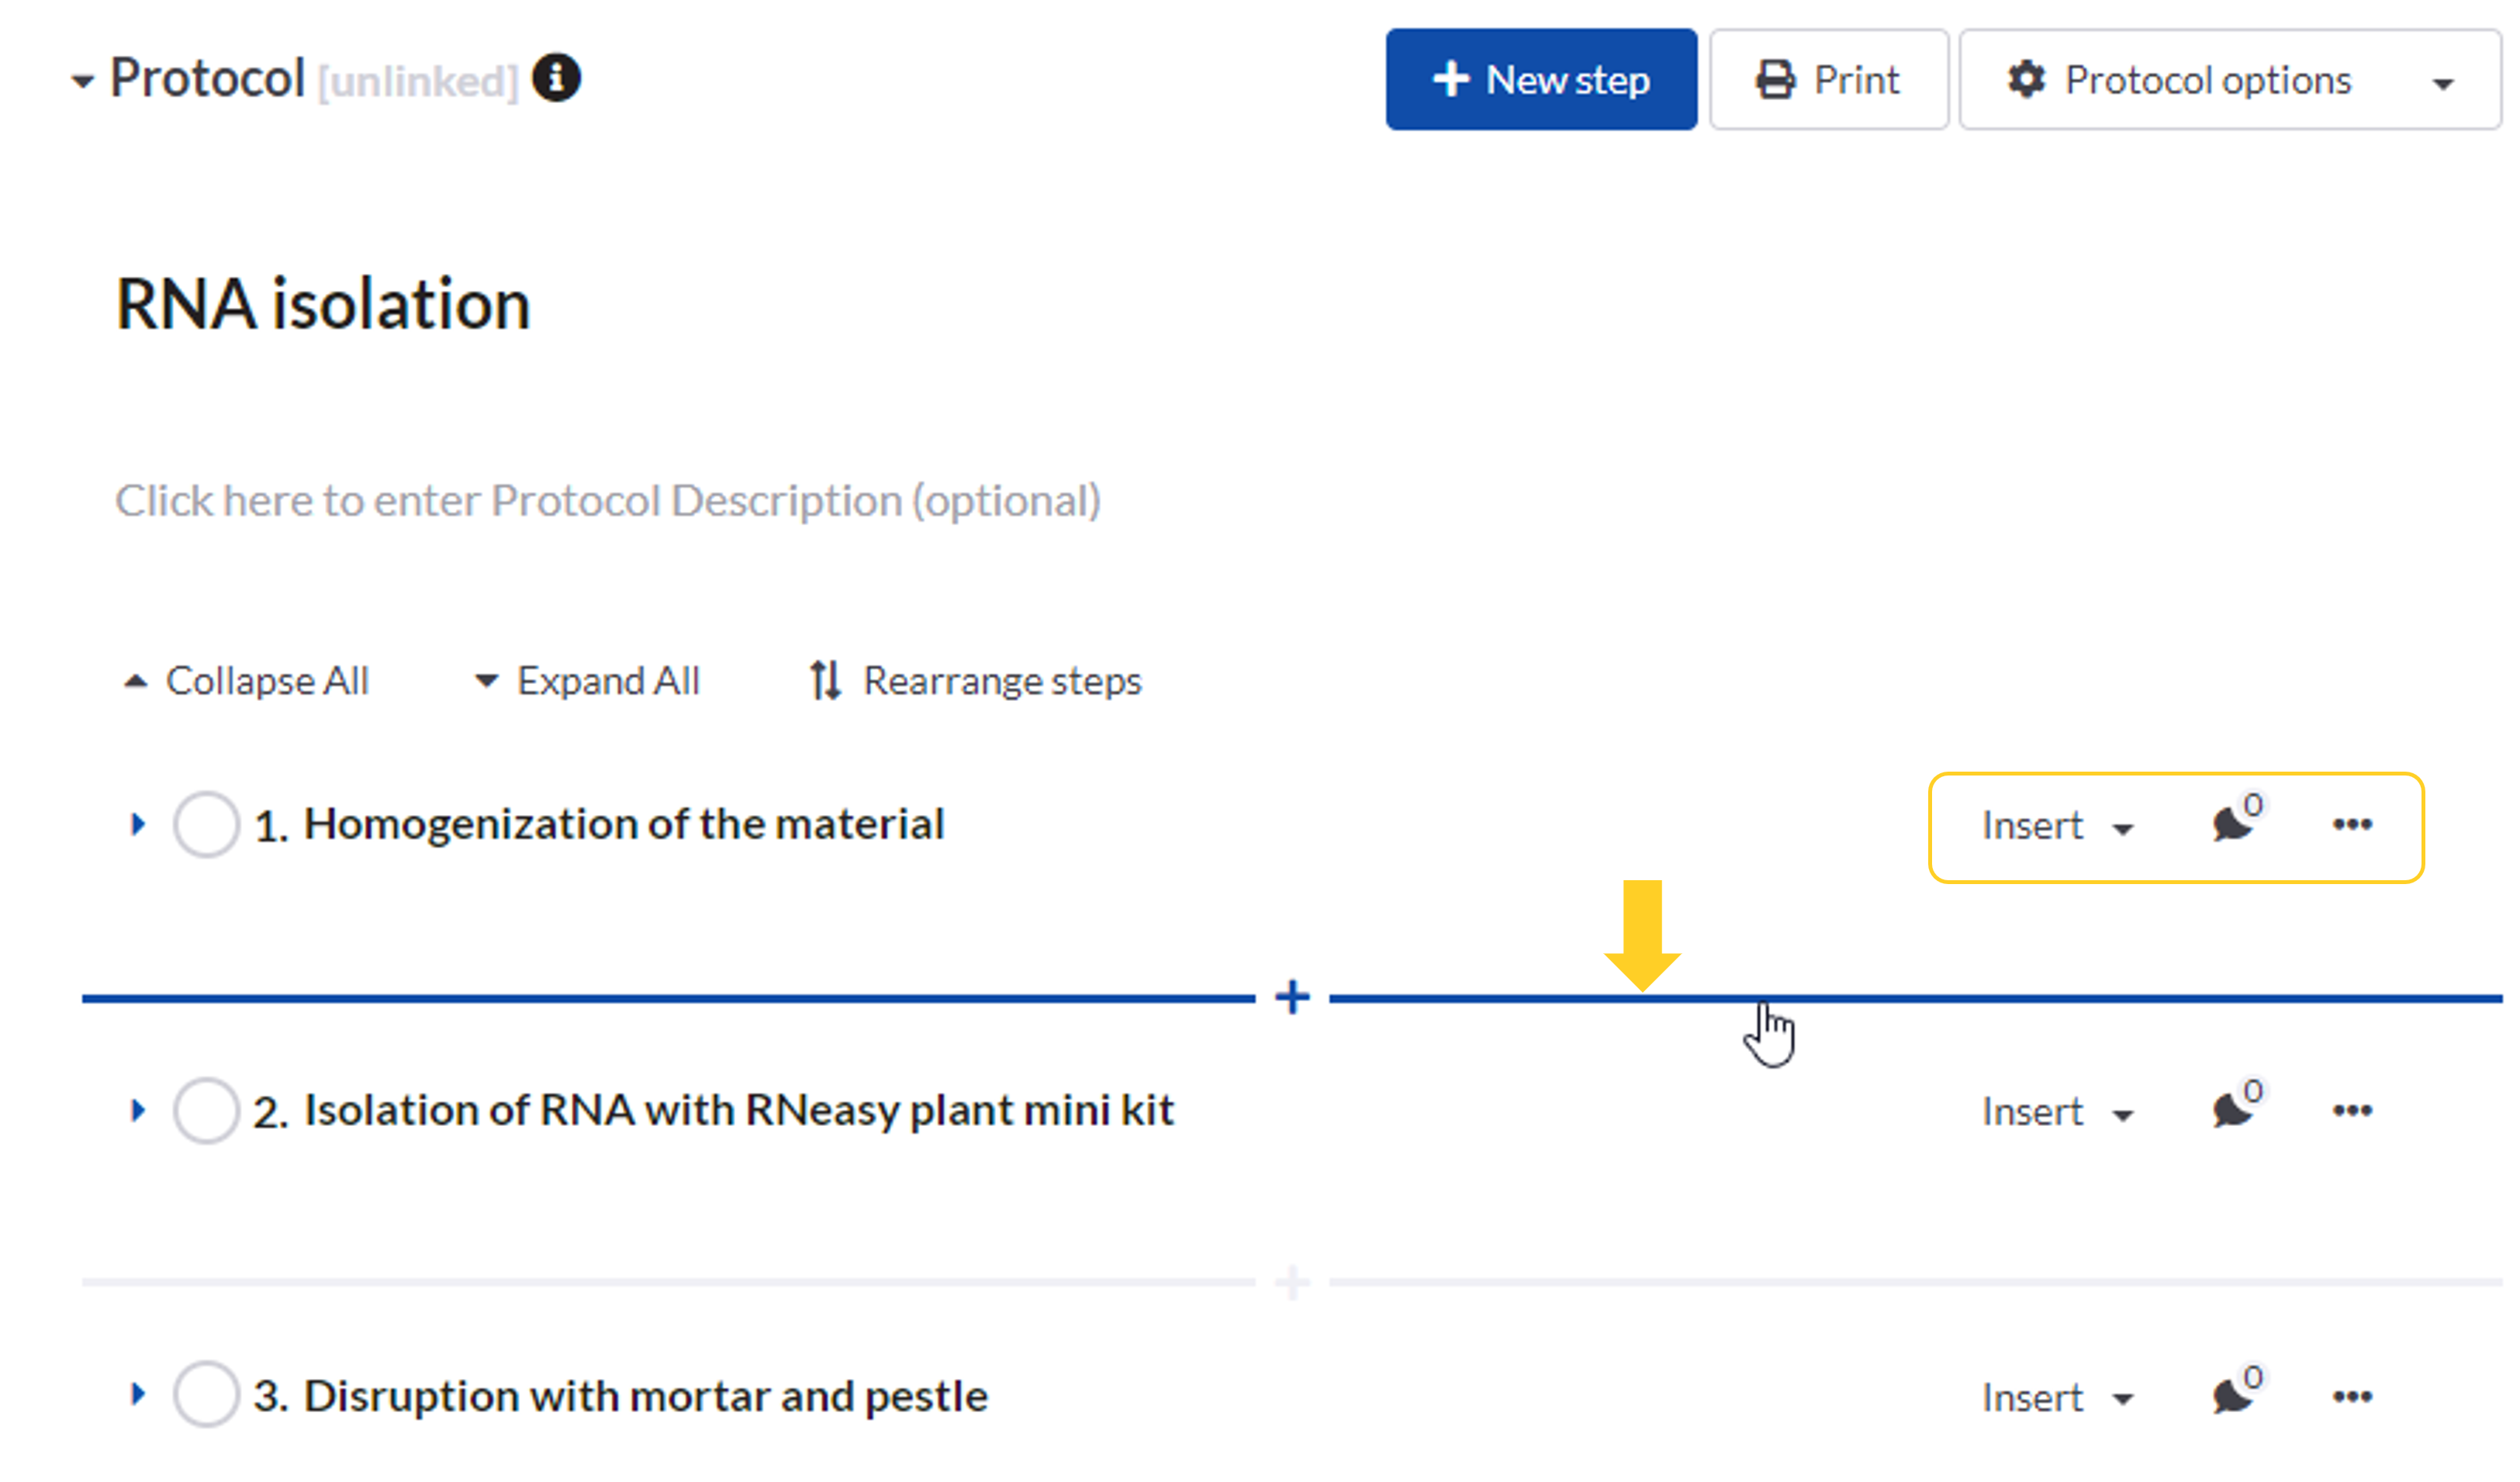
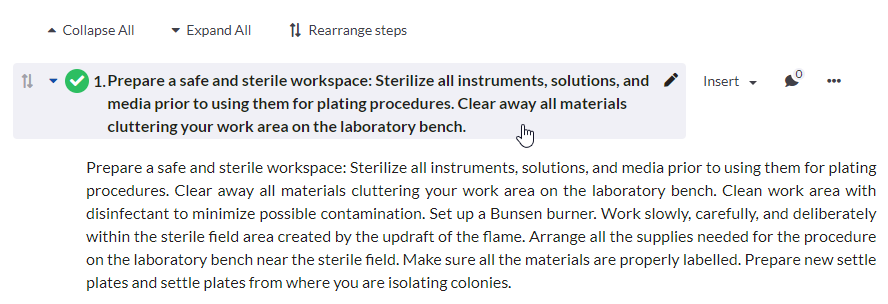
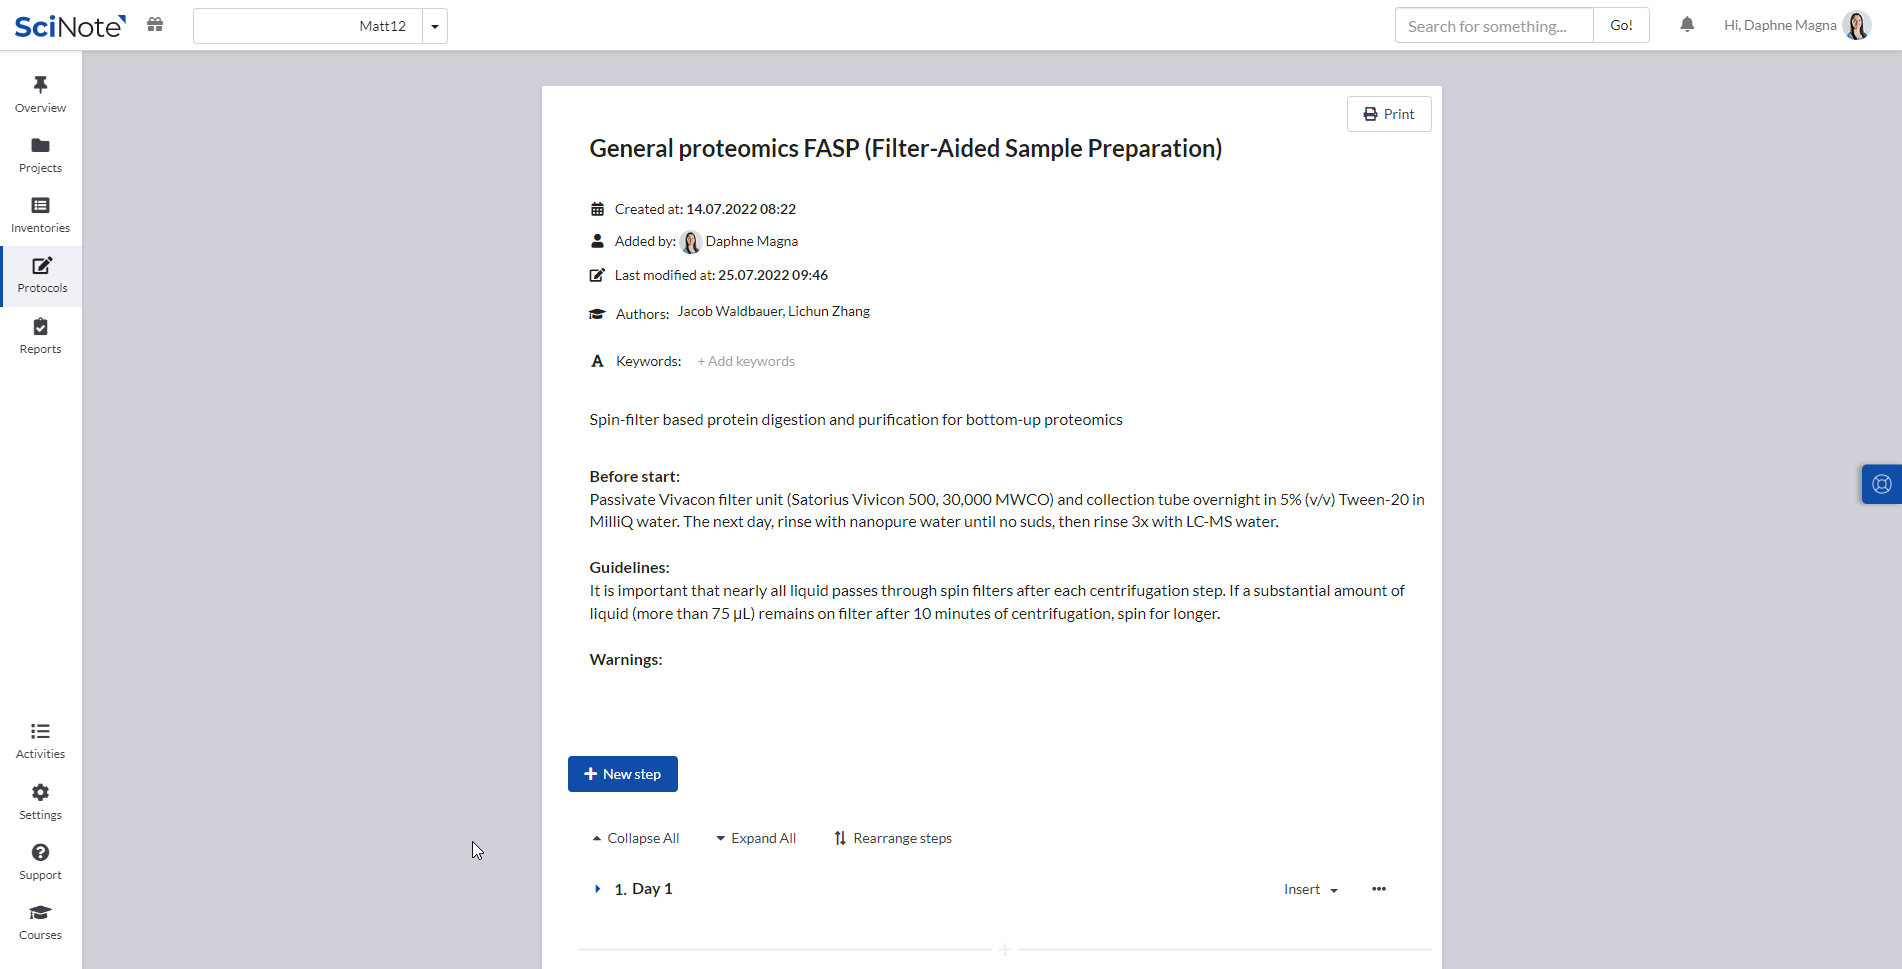
We improved how steps are displayed and added on the task page. You’ll notice that a newly added step looks cleaner, containing only a complete-step checkbox, a step name, which is displayed in its entirety, and buttons on the right for editing options and commenting.
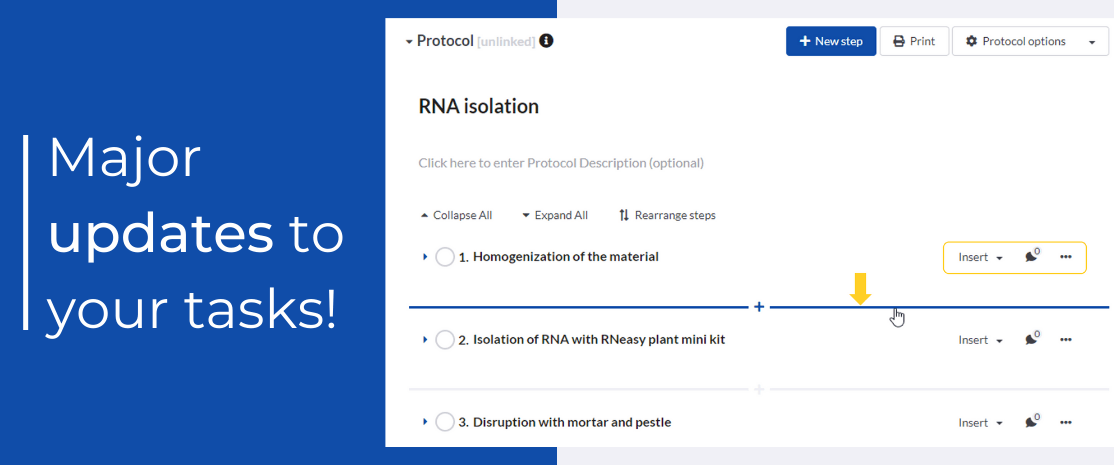
Adding steps to a protocol works similarly as before, although one new option is available. You can now add a step between two existing steps by clicking on the “+” element between the steps.
Inserting step content
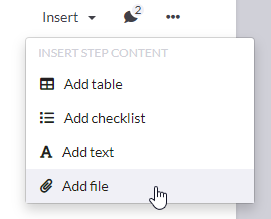
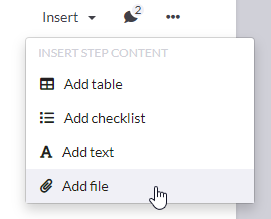
A click on the “Insert” button on the right side of the step name will open the step content menu; you can add different types of step content using this menu. There is no limit to how many tables, blocks of text, checklists, and files you can add to each step.
Editing and saving step content
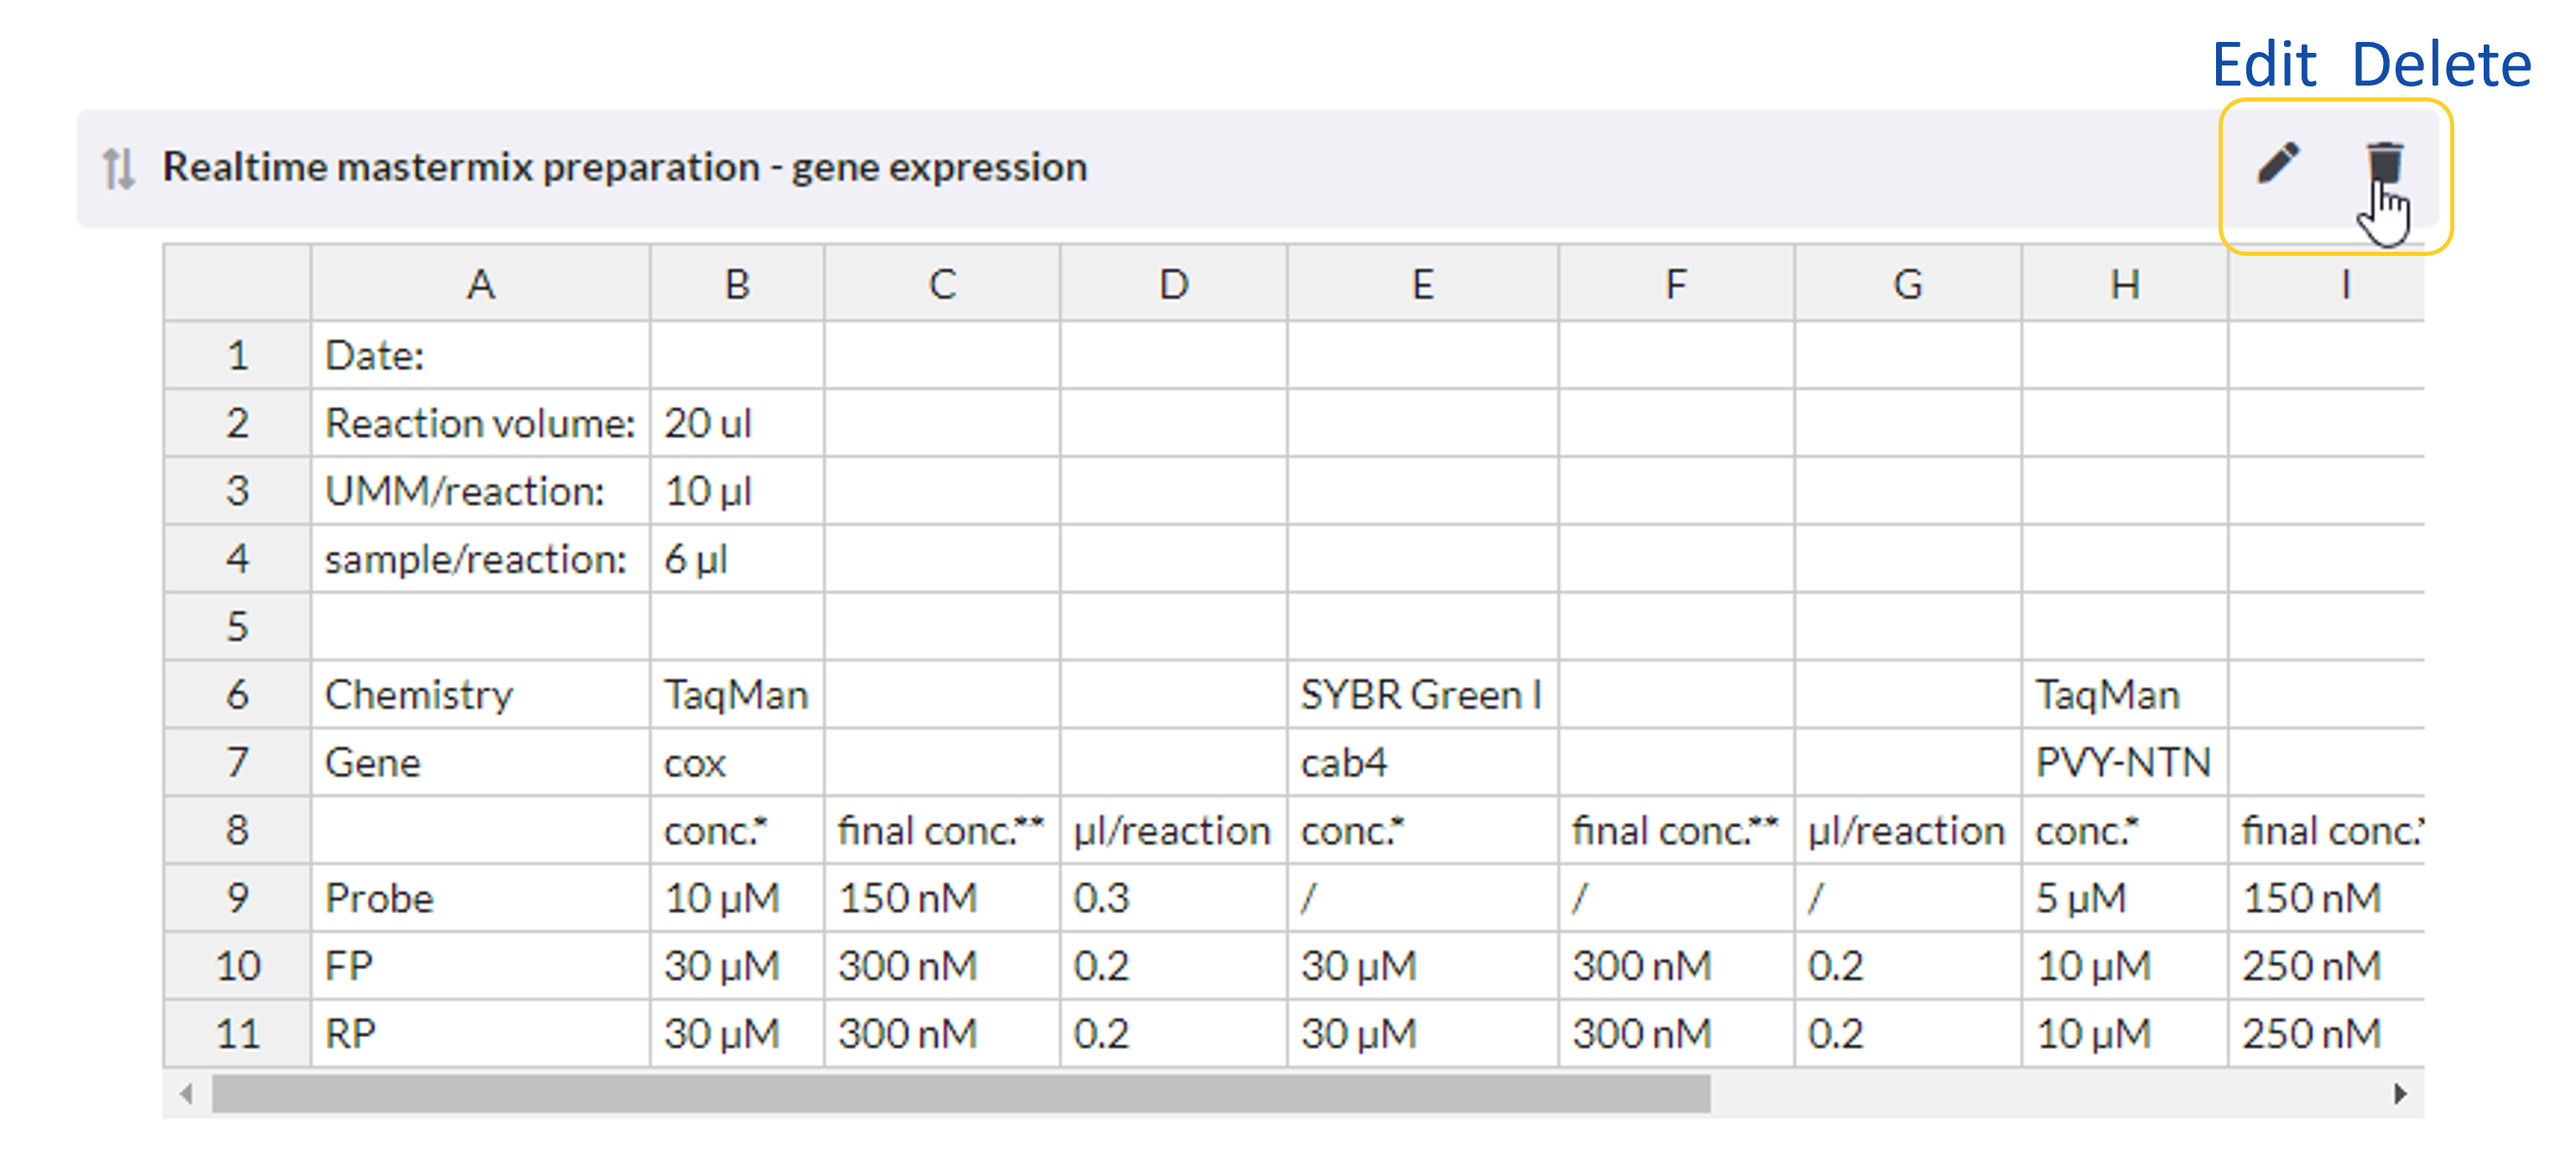
You can now edit each step content block directly by clicking on it. Or you can click on the pencil icon shown in the upper right corner when you position the mouse pointer on each step content part.
Saving is done either by clicking the blue save check or clicking anywhere out of the field you were editing.
Rearranging steps and step content
You’re now able to rearrange steps and step content directly.
Rearranging steps is done by clicking on the arrows icon you’ll find on the left side of each step when you position your mouse pointer over the step.
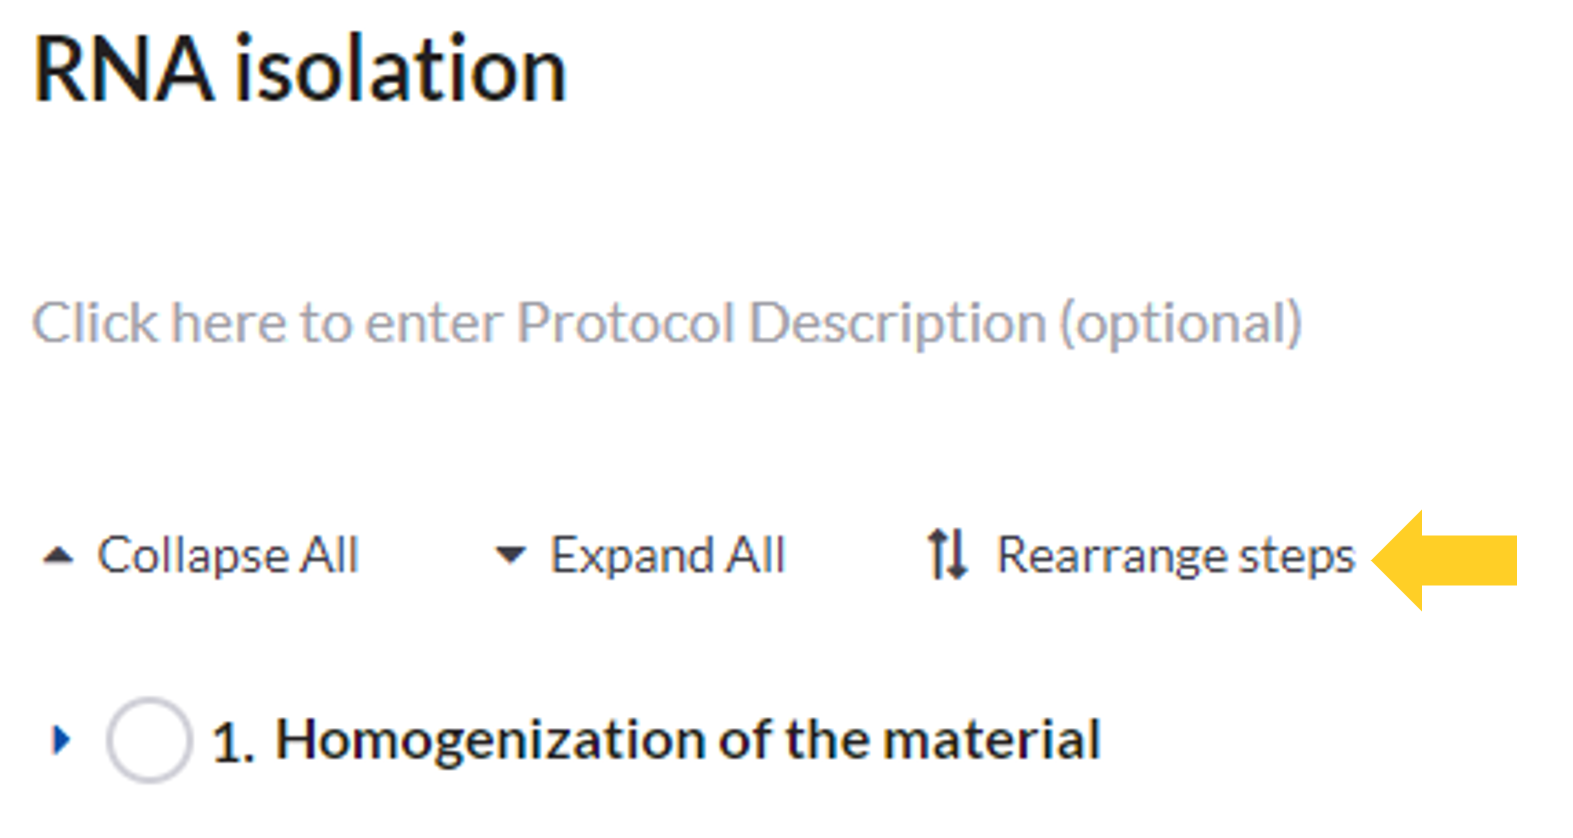
Or by using the button “Rearrange steps” above the first step in your protocol, next to the “Expand all” button.
Right after the click on any of the two buttons, a window will open, in which you can reorder the steps by drag and drop. The changes are applied right away, so when you’re done, just close the window by clicking “x”.
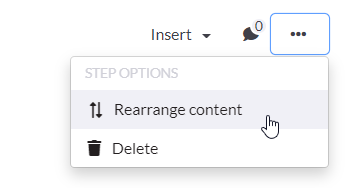
You can rearrange the position of different content blocks inside a step in two ways. The first option is by clicking on the step options and selecting “Rearrange content”. The second option is by clicking on the two arrows icon you’ll find on the left side of each step content block when you position your mouse pointer over it. Rearranging works the same as for steps.
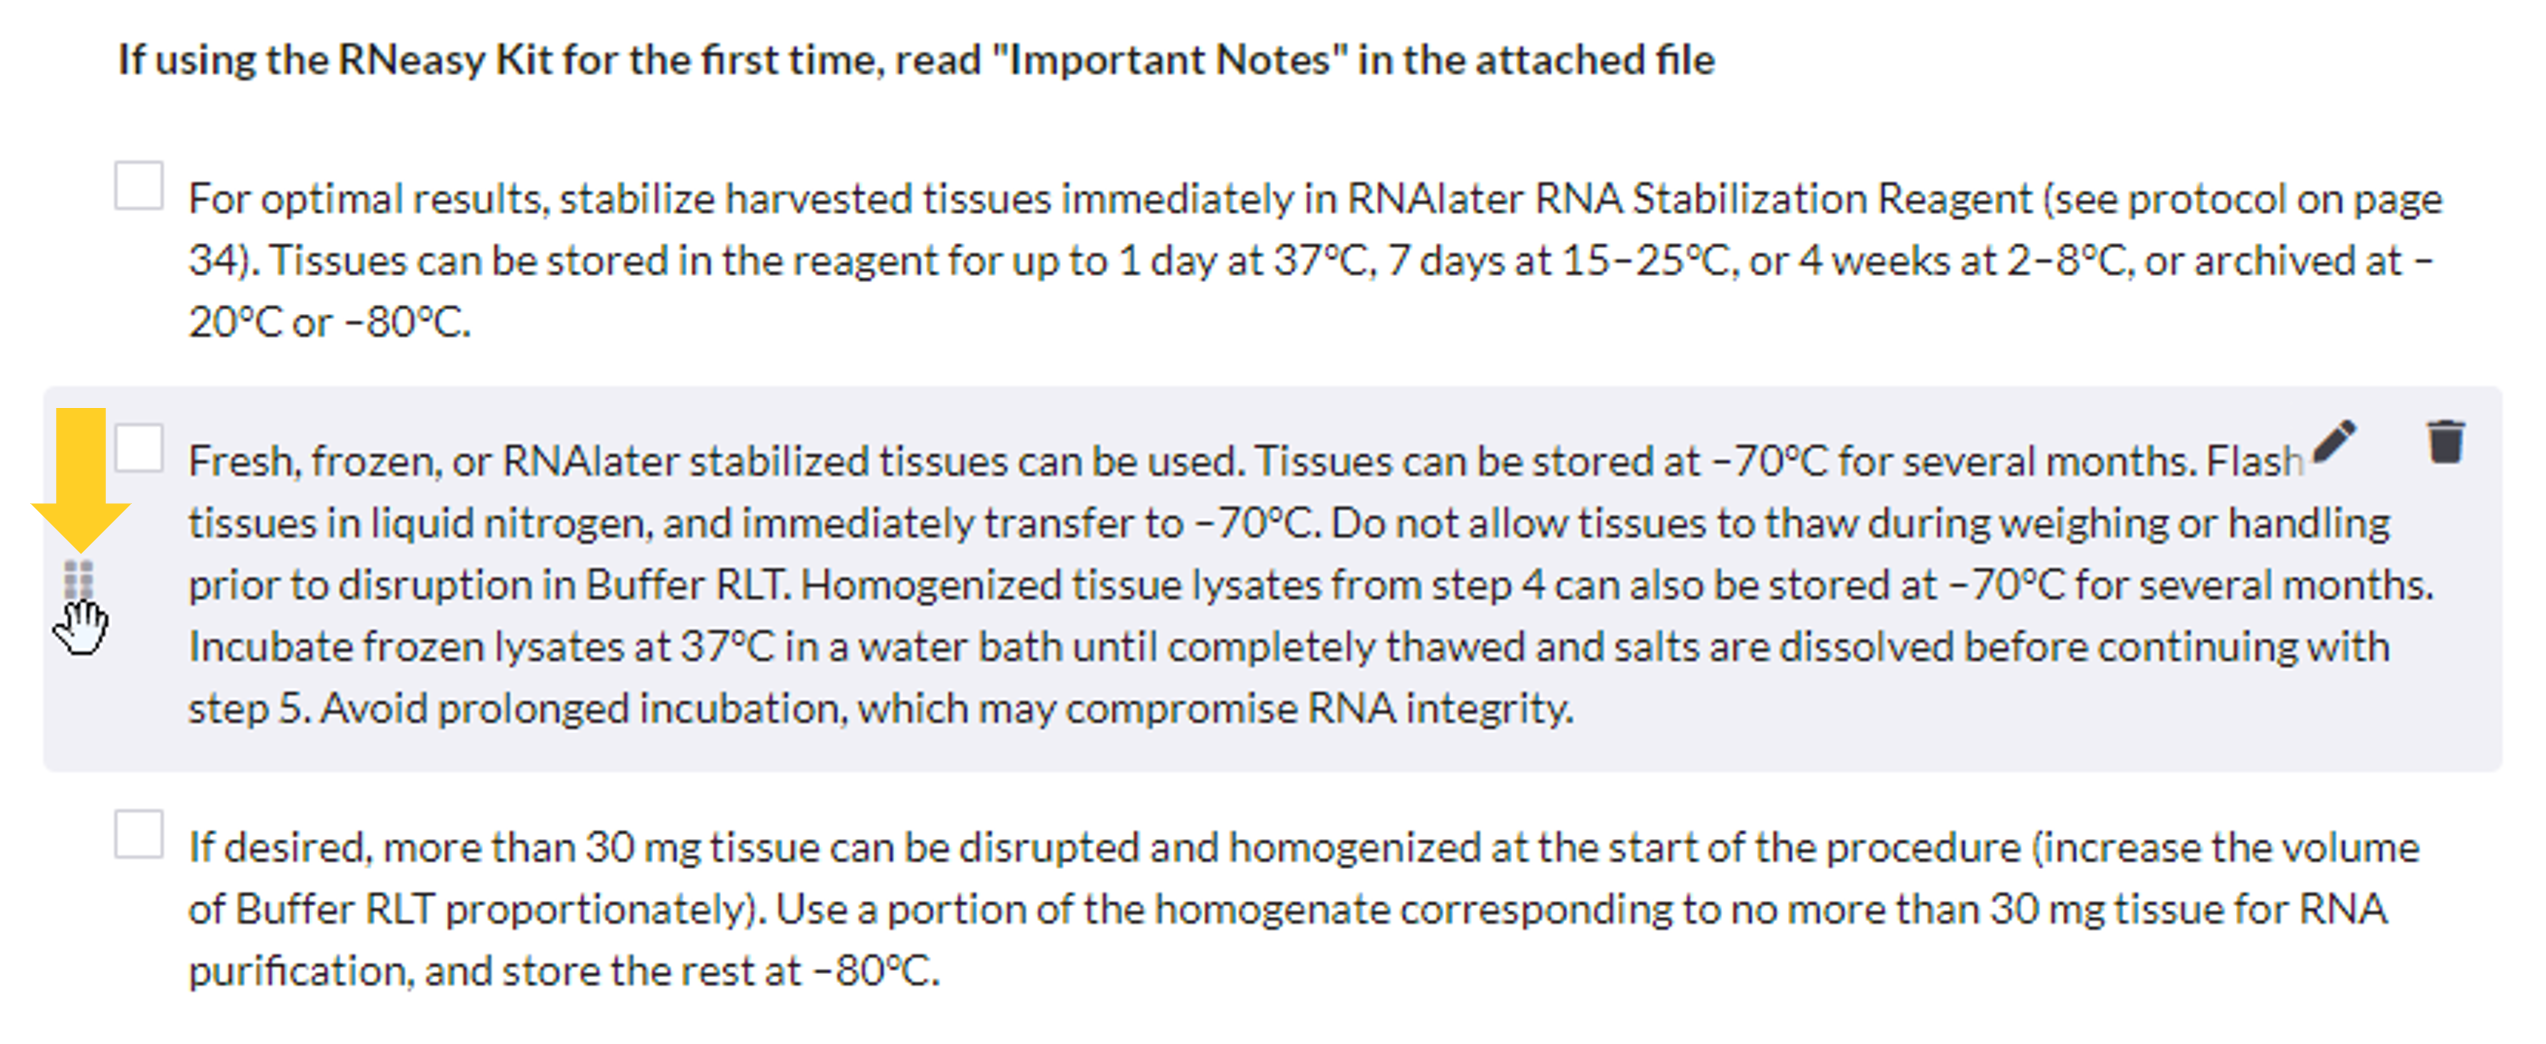
You can rearrange the checklist items directly in each checklist by dragging and dropping individual items. Grab the checklist item using the grip icon on the left side of the checkbox.
Improved checklists
Adding new checklist items is now easier and faster as the new empty checklist item is waiting for you after the previous one was added and you add items with a tab keyboard key.
You can also add multiple checklist items with a single action: paste text that contains several paragraphs (e.g. a bullet list) into the last checklist item and paragraphs are automatically converted to individual checklist items.
Deleting step content
You can now delete a specific step content block that you no longer need without deleting the whole step. To do this, place the mouse pointer over the step content part you want to delete and find the trash bin icon in the upper right corner. Click on it and delete that part of the step.
Please note that when you click the delete icon on the checklist title or table title, the whole checklist or table will be deleted. The checklist items can be deleted one by one if needed.
Attaching files to steps
Different types of files can be added to steps by selecting “Add file” from the “Insert” menu. All files you attach to a step will be added to the end of the step.
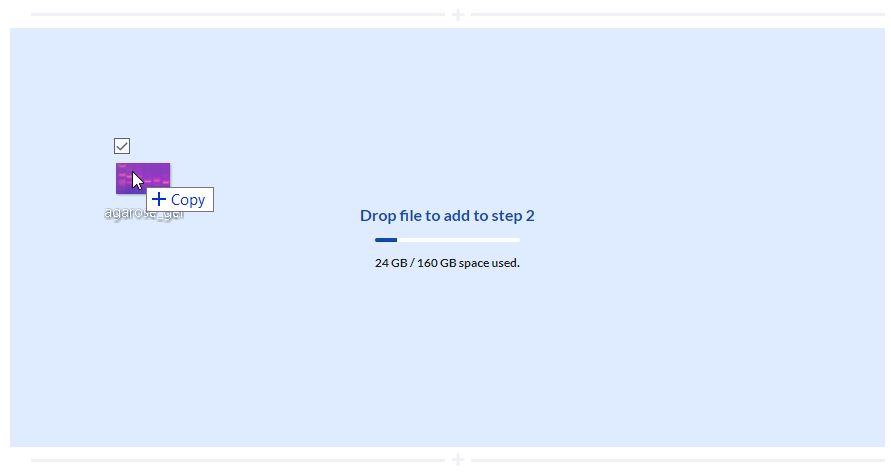
Uploading files from your PC to a step is now simpler than ever before. Drag the file from your PC file folder and drop it over the step where you want to upload it to. The file will then get uploaded when you drop it into the step.
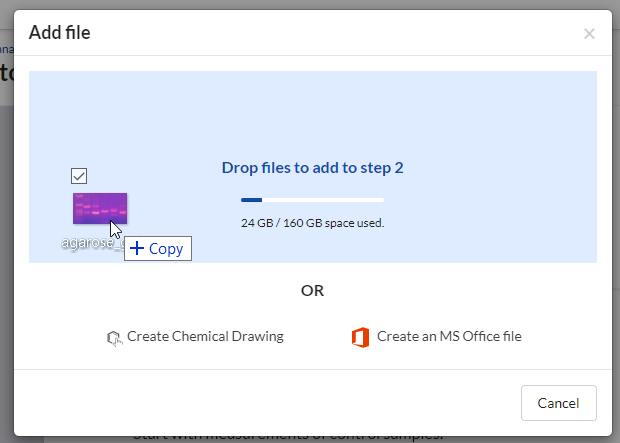
If you prefer a more conventional file uploading, use “Add file” window, which you can open by selecting the “Add file” option from the “Insert” menu. Here you can upload files from your PC, drag & drop files or copy and paste images using keyboard Ctrl + c and Ctrl + v.
Step comments
Step comments are now accessed through the comment icon found on the right of the step name. Click on the icon to open a side panel where you can leave a new comment or access the existing ones. The side comments panel will reduce vertical space of your task, making it more readable and accessible.
If you scroll away while reviewing the rest of the protocol, a click on “Go to step” in the comments panel will take you back to the step that the comment is intended for. The blue step border highlights the step to which the comments in side panel are related to.
Completing steps
Steps can be completed by clicking directly on the round step checkbox positioned to the left of the step number.
Protocol templates
The Protocols section in SciNote where you keep your protocol templates also got an update. Editing templates now works the same as when you’re editing the protocol inside the Task page. In addition, you can now print the protocol templates.
API updates
We updated the API endpoints and added new ones for reordering steps and step content. More information is available in the API documentation.
In case you have questions about the new task please contact your customer success representative.
